Skills learned: Gratitude!
Age: 12m+
Rating (out of 4 stars): 4
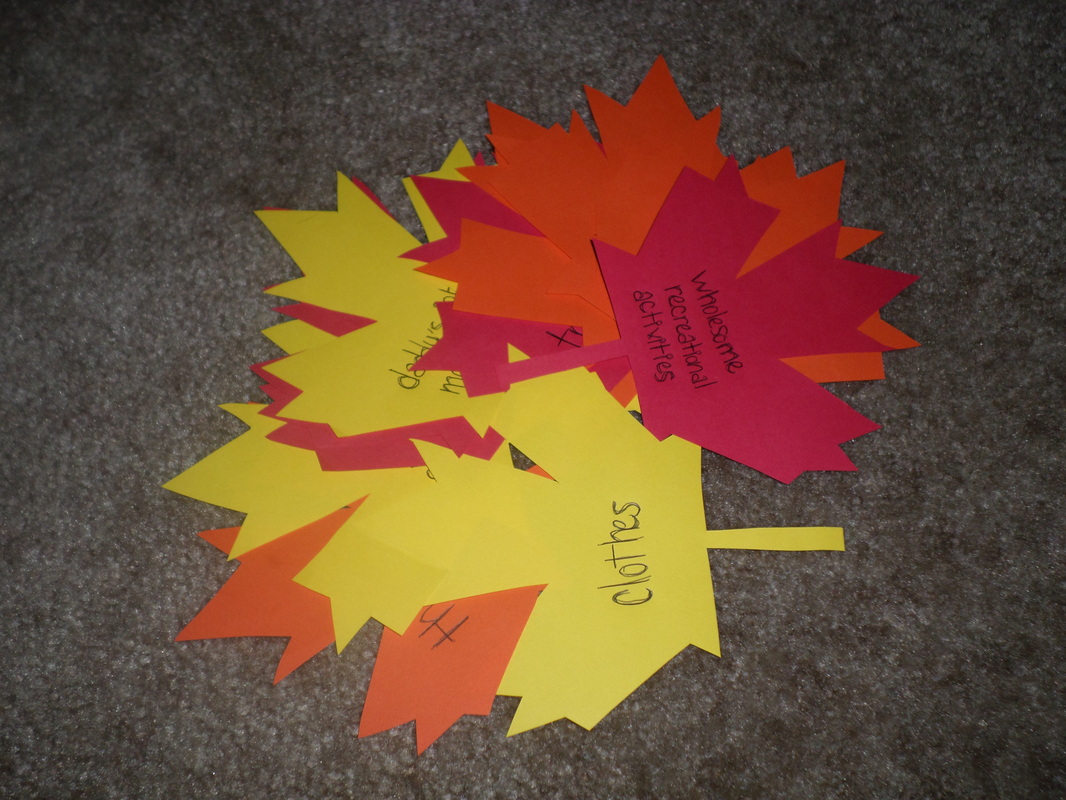
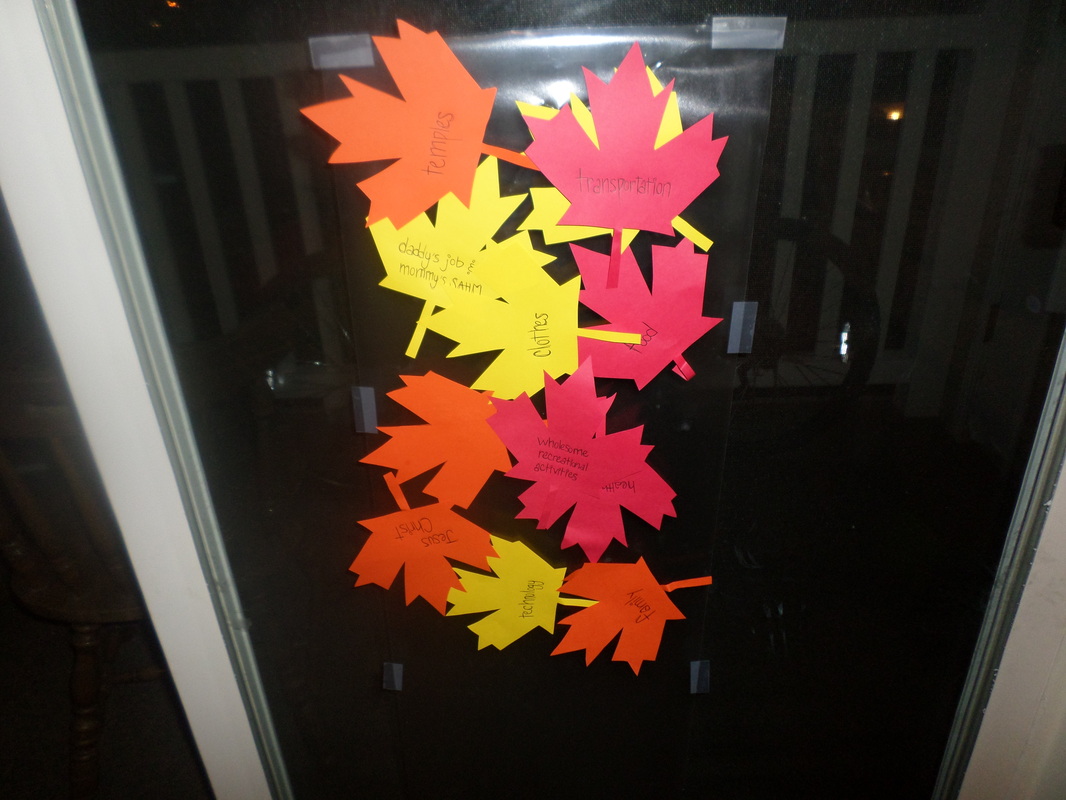
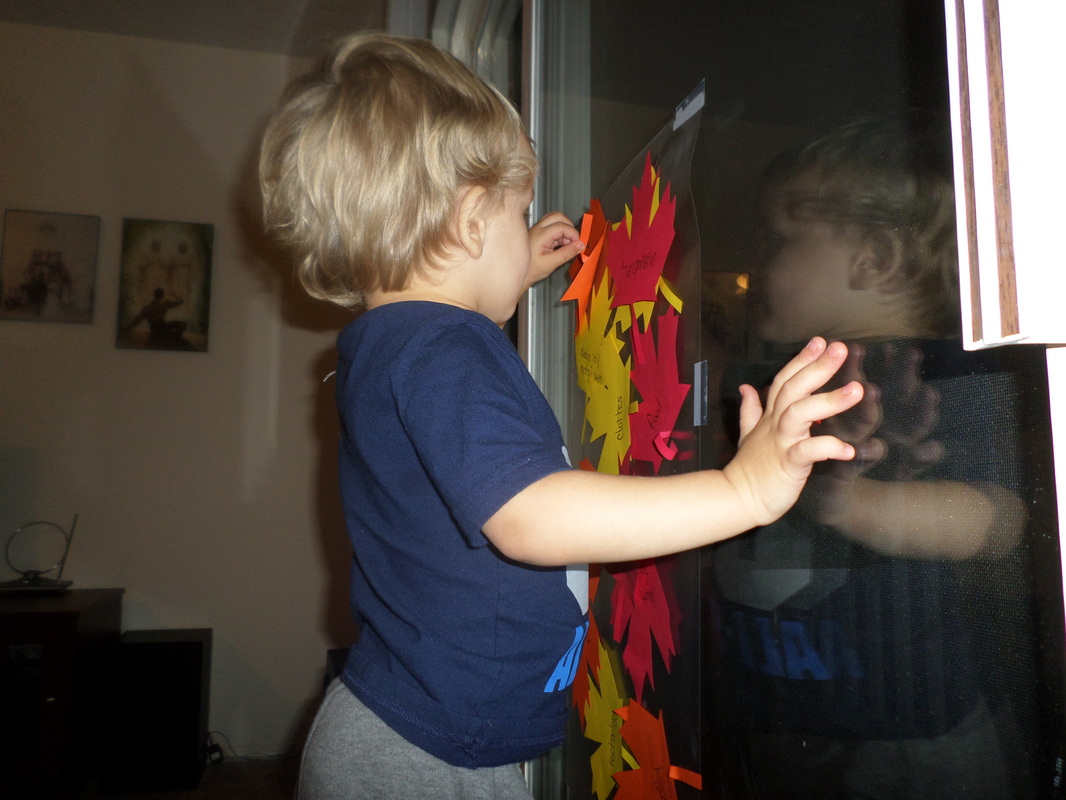
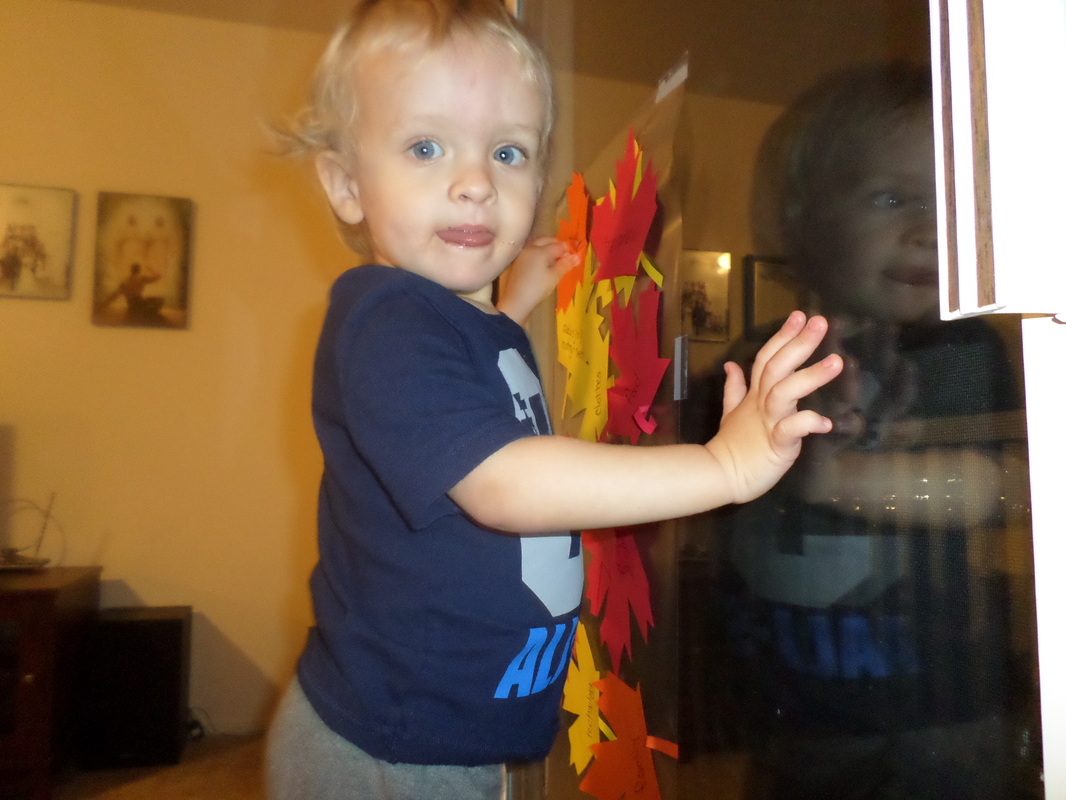
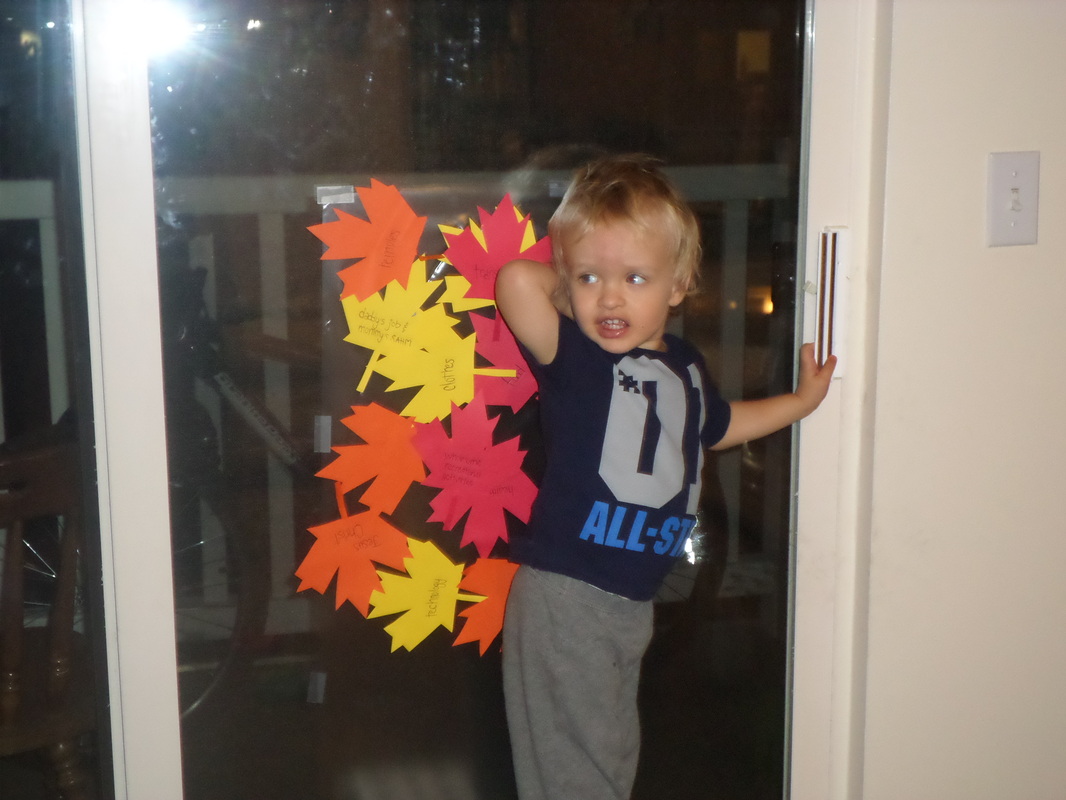
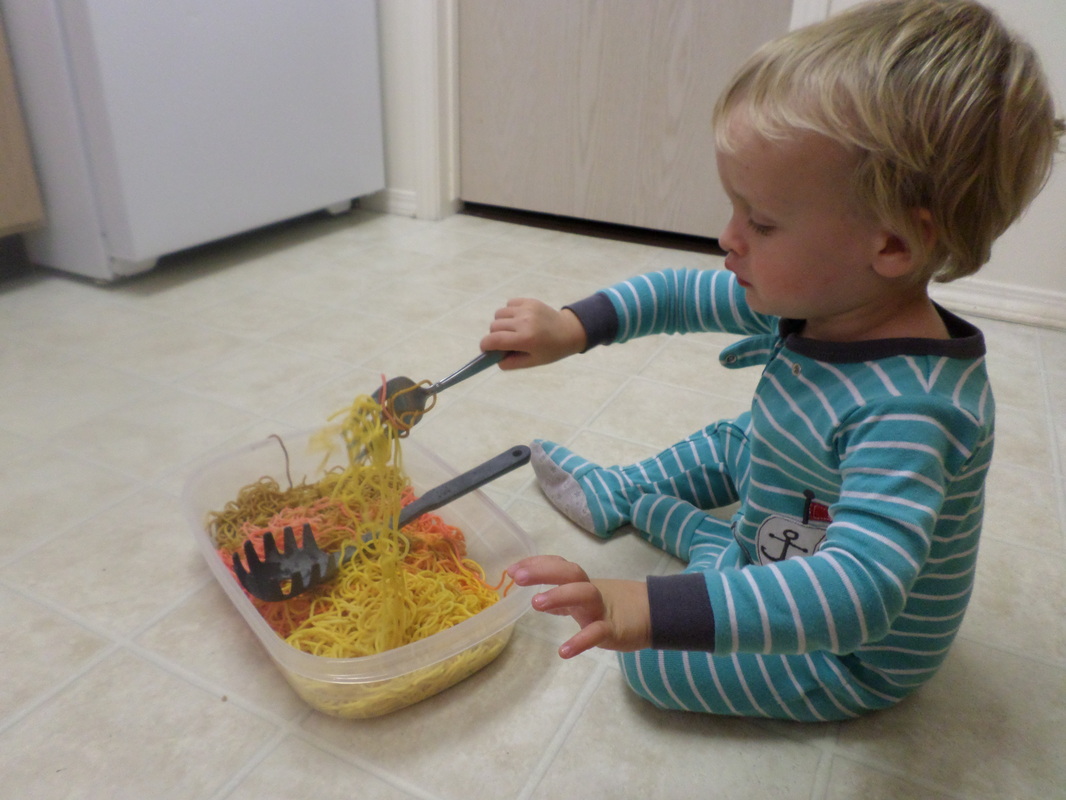
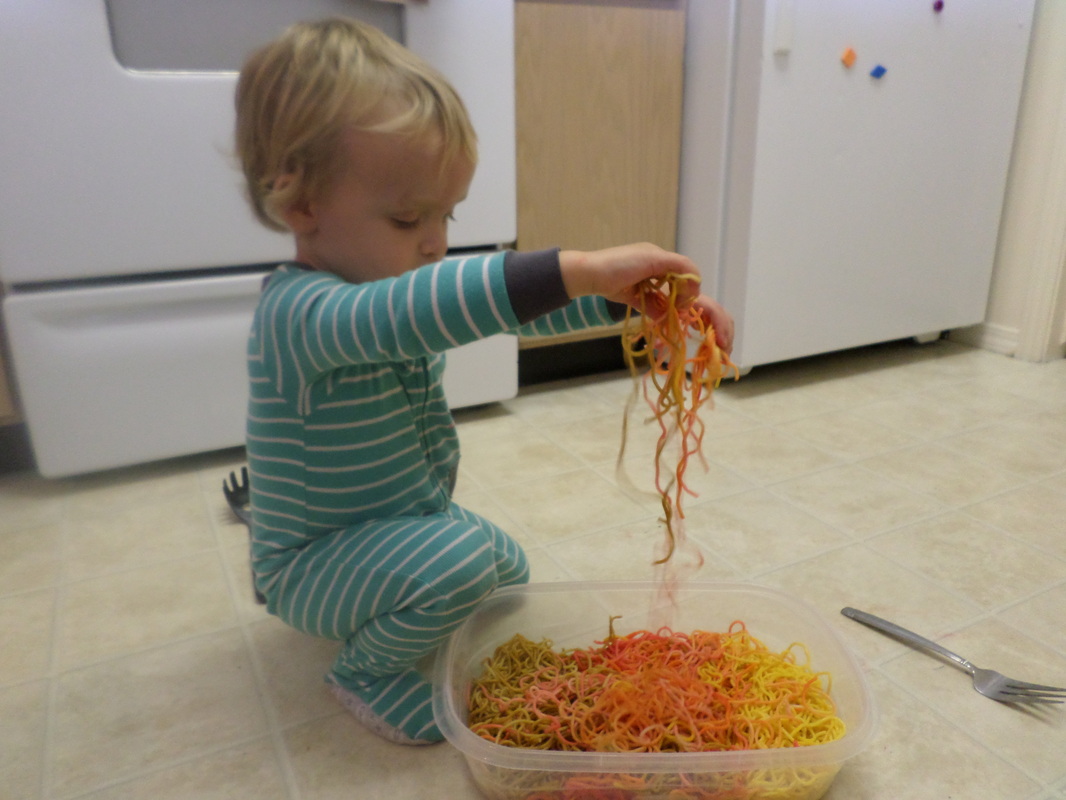
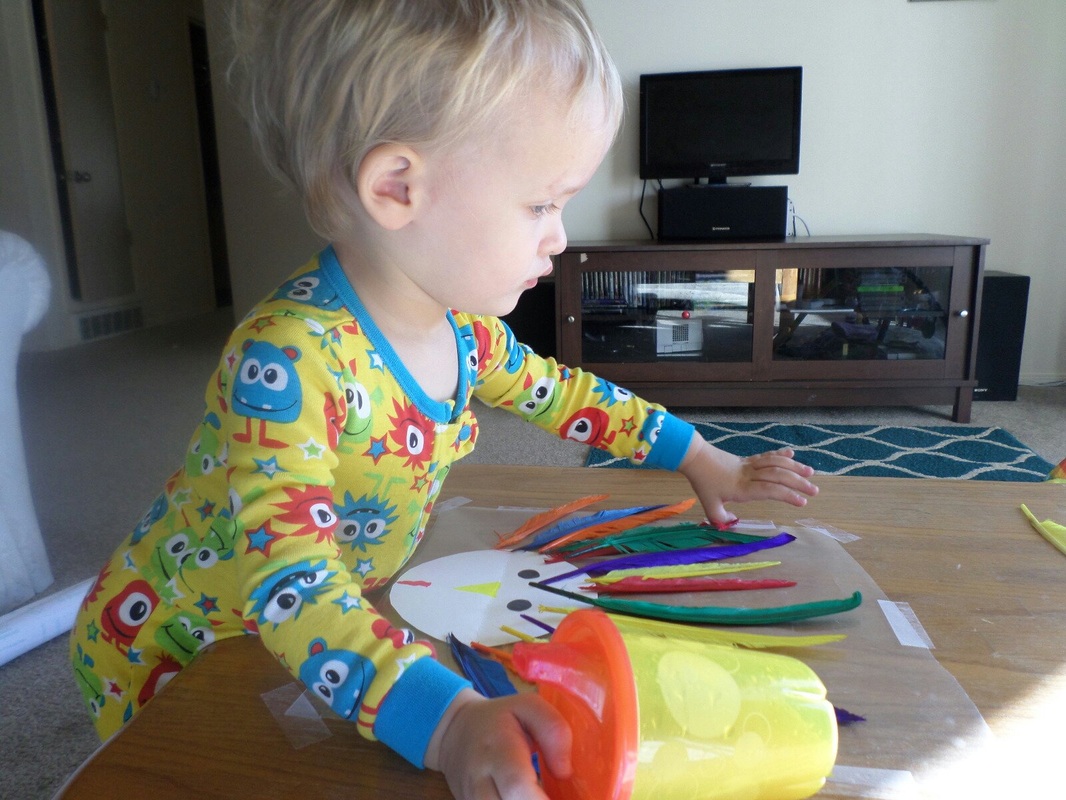
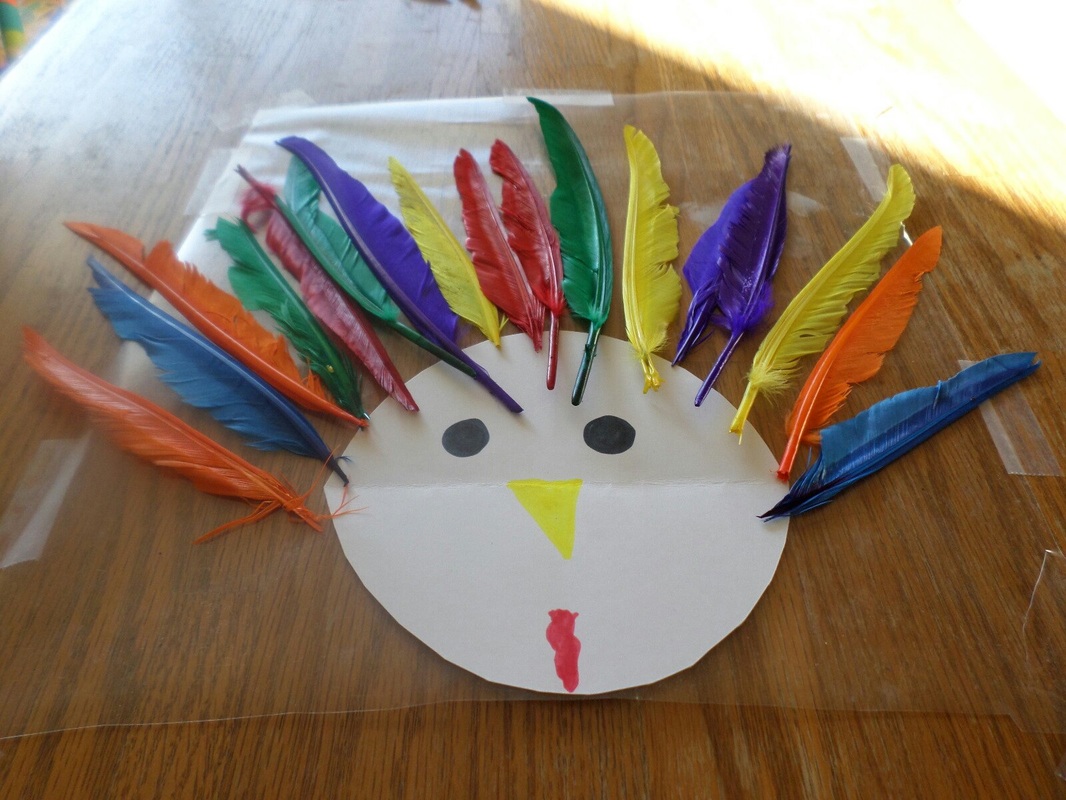
As fun as our other Thanksgiving activities have been, I wanted to do at least one activity to bring in the true spirit of Thanksgiving which is gratitude. To do that, I decided to cut out a bunch of leaves from colored paper and write something we have to be grateful for on each one. It took me a long time to trace and cut out each leaf so we only ended up with 12 leaves, but Izzy definitely would have loved to have had more. My idea with the leaves was to make a sort of tree by sticking them all on a sheet of contact paper I had taped to our sliding glass door. Izzy had no problem with that concept and as I handed him each leaf, I told him what was written on each one so he would maybe know a little bit about all the blessings he has to be grateful for. It didn't take too long to get all the leaves up on his 'tree', but he kept revisiting it throughout the night either to reposition the leaves or to just feel the stickiness of the contact paper. Although it was a short activity, I thought it was a very beneficial activity and I hope to be able to do it again next year with him and sister both. (As a side note, this activity brought out the modeling side of Izzy... you can see what I mean below). Cost: Free
Skills learned: Gratitude! Age: 12m+ Rating (out of 4 stars): 4
0 Comments
This is much like the pasta sensory bin activity I posted about a while about so I won't go into much detail about it. There were a couple of differences though. This time I used spaghetti noodles and I also dyed the noodles to fit in with a fall theme. To dye the noodles I put 1 tablespoon of water and about 10-15 drops of food coloring into a sandwich sized ziploc and added the pasta. Then I just squished things around until the noodles were thoroughly dyed. And to make the brown color, I used 2 parts yellow, 1 part red, and a dash of blue food coloring. By dying the noodles this way, they were still perfectly edible which was a great thing because Izzy had a huge appetite for this activity! This is a great sensory activity and gives the opportunity to talk about how the noodles are long, thin, and kind of sticky (they leave that nice pasta residue on your hands when you play with them). The fact that the noodles were dyed added an opportunity to discuss colors and Izzy mastered all of the colors in the bin by the end of the activity. But as I said, for the most part he was just interested in eating his noodles! This activity did keep him entertained for about 45 minutes though, so it was a true gem. This is the first activity we've done with sister awake, but she just chilled in her car seat and had a good time watching us. It was super encouraging that she was so good for it and we will probably be doing more activities with her awake since she handled it so well. They say a picture is worth a thousand words, but I will translate her pictures for you. They go a little something like this... "Holy cow! My brother is crazy! Wait... that actually looks kind of fun. I can't wait until I'm older to do fun activities myself." Or something like that. Cost: Free
Skills learned: Colors, textures Age: 9m+ Rating (out of 4 stars): 4 Izzy has always struggled with crafts. As in he doesn't have a single crafty bone in his body. When all the other parents of nursery aged kids get beautiful scribbly drawings, I get a blank paper with a dot or two. With that being said, I have no idea what made me think this activity would be a good idea. I think somewhere deep down inside I'm hoping that he will get to be a little more crafty one day, but I don't see it happening anytime soon. For this activity I bought a pack of colorful craft feathers. I had originally wanted to play with the feathers by sorting them into groups by color and counting the number of feathers in each group. From there I thought we could do a craft with the feathers and decorate a turkey. However, Izzy wanted absolutely nothing to do with the feathers either in crafts mode or sorting and counting mode and I ended up decorating the turkey by myself. For the craft part of the activity I cut a square of contact paper and taped it sticky side up on our coffee table. From there I quickly cut out a circle of paper and drew a turkey face. (Don't judge my turkey face, I'm not very crafty either). Once my turkey face was in place of my contact paper, all I had to do was arrange the feathers around the face to make it look like a turkey. You can see it in the pictures below. Cost: $2
Skills learned: Colors, counting, sorting, creativity Age: 12m+ Rating (out of 4 stars): 3 |
AuthorHi! My name is Cassity and I am the mom to a little 2 year old boy named Izzy and a baby girl named Sydney. I am lucky enough to get to be a stay-at-home mom to them and we have fun thinking of new activities to do together in the afternoons. We created this blog as an opportunity to share those activities with you. Archives
March 2015
Categories
All
|